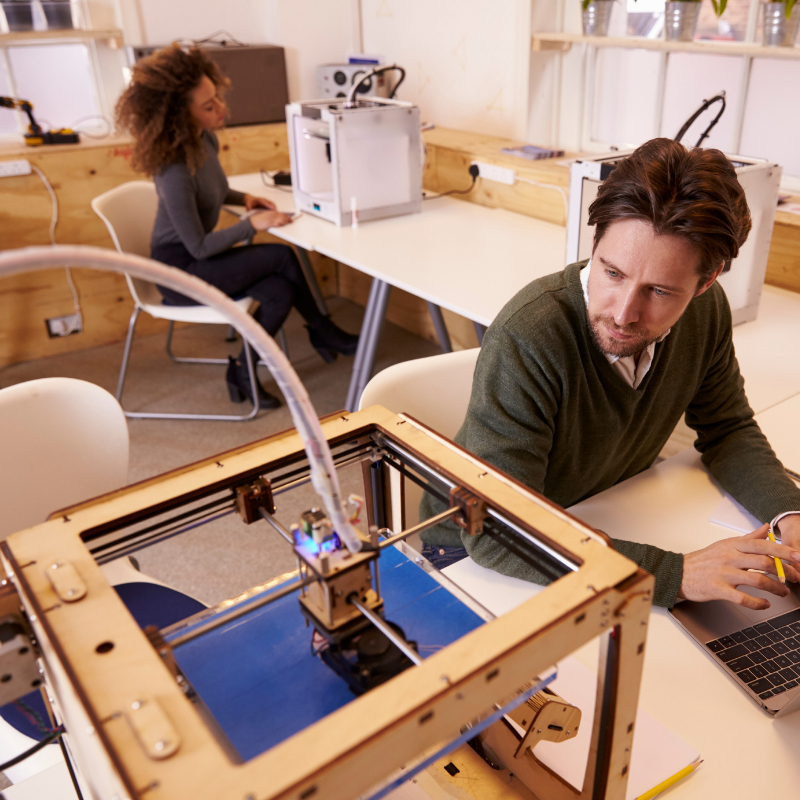
A warped print is a headache for anyone, and you wait a long time for a 3D design to print only to notice its starting to wrap and thats your print ruined. We have come across this many times, and there are plenty of tweaks that you can do to resolve this. It doesn’t matter if your using PLA or ABS filament both kinds can wrap and curl; however, ABS tend to have the most significant shrinking problem. Let’s find out why your design wrap and then share our possible solutions for you to resolve the warping.
Warping of a 3D print takes place due to the plastic filament cooling at different print rates. The ABS or PLA filament will start to contract due to the cooling of varying object areas, thus beginning to warp your design.
Now we know that cooling of the filament at different times is the main reason, so let’s find out how we can resolve it.
Table of Contents
Warping and Curling 3D Print solutions
Use a stronger adhesive
A possible reason that warping starts from the print bed is that it’s not stuck down enough to keep the edges from warping. The best thing to use is stronger adhesive to keep your print attached to the printer bed. We use these glue sticks, and they resolve our warping. Find them here on amazon these are same that we use. When applying the glue, ensure its a then even layer to prevent un levelling.
Turn up the heat
Your printer bed could be to cool, so up that temperature. This is another common reason why warping begins at the print bed. If the printer bed is to cool, your print won’t attach itself to the bed resulting in warping. The best way to avoid this is to set the print bed’s temperature just below the glass transition temperature for the filaments you’re using, in other words just below melting temperature for each type of filament that you use. Turning the temperature up will allow even prints and stop any possible warping that may occur.
Clean your printer bed
To prevent warping on a print, you must have a clean print bed, even though you can’t see anything after each print you should clean your print bed thoroughly. An unclean surface will prevent your filament from sticking to the bed and then resulting in warping. We use acetone as this helps with also dissolving any old filament leftover from the previous print.
Calibration Check
Your 3d print could be warping due to un levelling issue. We all know that the first layer of any design is the most important. Go through your 3D printer manual and check the calibration. You can also start by reducing the Z-axis height by 0.05mm each time until you find your first layer is perfect and no warping begins.
Slow down to prevent warping
Please don’t be impatient with your designs, we all like to see results as soon as possible. However, to prevent warping, it would be best to slow down; a hurried design often custom to warping and curling. By slowing down the print, you’re allowing your print time to stick much better to the print bed, form each layer much sturdier, whilst evenly cooling and let’s not forget its much better for the finely detailed prints anyway.
Calm the filament
When you print your design either, hollow, solid or of a percentage between zero and hundred. You will find the more filament you have; the more tension your print will naturally have. So by reducing the amount of infill that you use can help stop your warping problem.
Adjust the cooling fan
To help with the warping of prints turn up the 3D print temperature bed of 5 degrees then adjust the cooling fans to start full power at a later height. Use your slicer software to check the height of the cooling fan. The usual default settings are 0.5mm try increasing this to 0.75; this will then give the bottom layers time to cool by themselves and prevent too much artificial cooling and tension.
Use a raft
When using ABS filament, try adding a raft to the print bed, this bottom layer will help your design stick to the print bed more easily. Adding a bottom raft must a thick layer and slowly built, this will help your design stop warping.
However, adding a raft comes with its pros and cons. Please see below and decide if your print is worthy of a raft:
Pros
- Can successfully stop warping of prints
- Using a raft can improve the print bed adhesion.
- A robust first layer that will reduce and stop warping
- Using a raft will help with smaller bottom layered designs, such as legs.
Cons
- Will use an extra amount of filament to create the raft.
- Will be a rough finish on the bottom layer of your print
- Removing a raft from the print bed can be difficult
- Using a raft can damage delicate designs when trying to remove it
- Best used when using ABS filament not recommended for any other filament
Use a Brim
Using a brim can result in a successful print every time whilst preventing warping and curling. It’s a bottom layer for your designs to sit on and start the build process on it. Using a brim can stop warping similar to a raft.
However, adding a brim comes with its pros and cons. Please see below and decide if your print is worthy of a brim:
Pros
- Can successfully stop warping and curling of prints
- Using a brim will improve the print bed adhesion.
- A robust first layer that will reduce and stop warping
- Using a brim will help with smaller bottom layered designs, such as legs.
- It’s easy to remove from the print bed.
Cons
- Will use an extra amount of filament to create the brim; although it’s less than adding a raft, it adds a skirt to the design and not the whole layer is covered like a raft.
- Will be a rough finish on the bottom layer of your print
- Using a raft can damage delicate designs when trying to remove it
- Best used when using ABS filament not recommended for any other filament
If all else fails
Suppose you have tried all the above, and your prints are still warping and curling it could be time to get a new print bed.
Conclusion
I hope that the above will help your warping issues; there’s nothing worse than a warped design. Please be patient and run through the possible solutions. I think with the solutions above, and you will resolve your warping and curling problem. Have you ever had a problem with your printer stopping mid-print? Here I have written about the potential reasons why. It happens to everyone, so it’s handy to know if you’re new to printing.
Happy Printing!

