Are you one of the active members of the 3D printing community? Then you must have heard about Artillery. It is a Shenzhen-based company that builds pocket-friendly high-quality 3D printers. Even though Artillery has started their journey since October 2018, they have managed to attract the attention of the 3D printer lovers through their first product, the Sidewinder X1. The best thing about this company is that they always pay attention to the community’s feedback and improve their printers accordingly.
This article will be reviewing the performance and other related features of the new member of the Artillery family, the Artillery Genius 3D Printer. Check out the following part to know whether this one can keep up with its big brother.
Table of Contents
Packaging
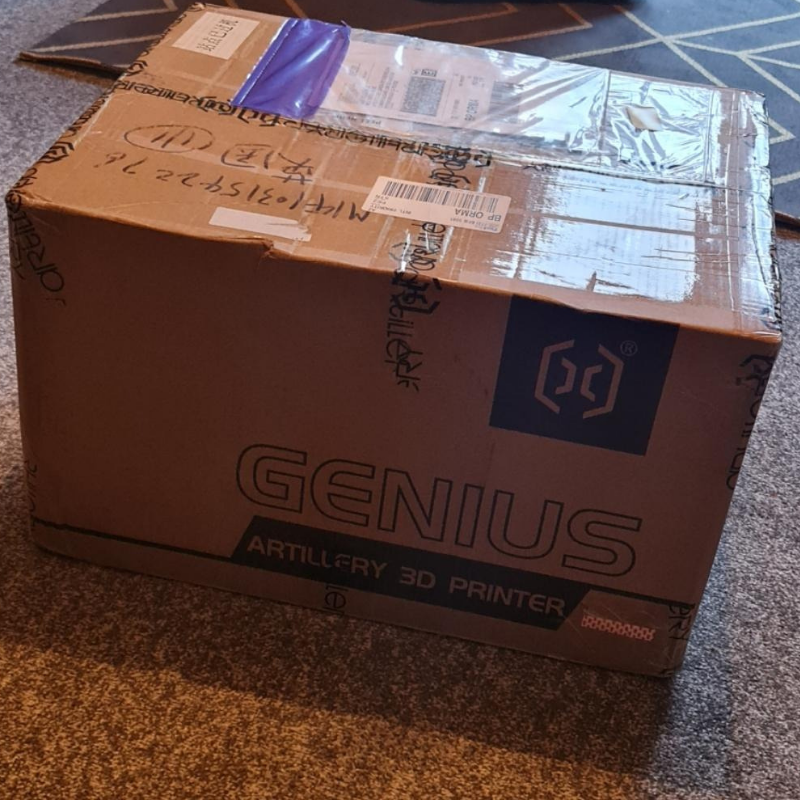
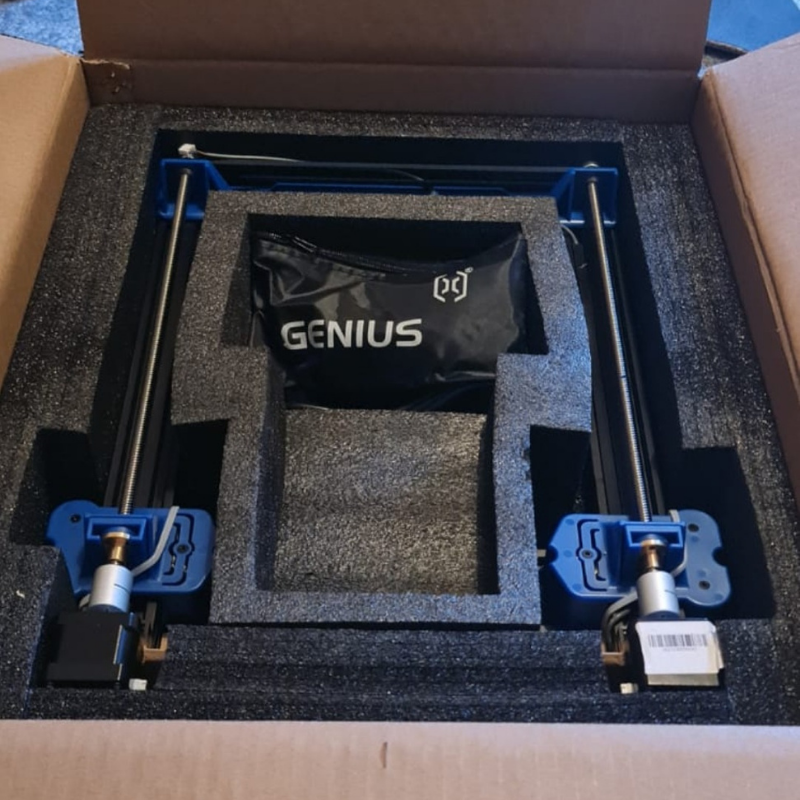
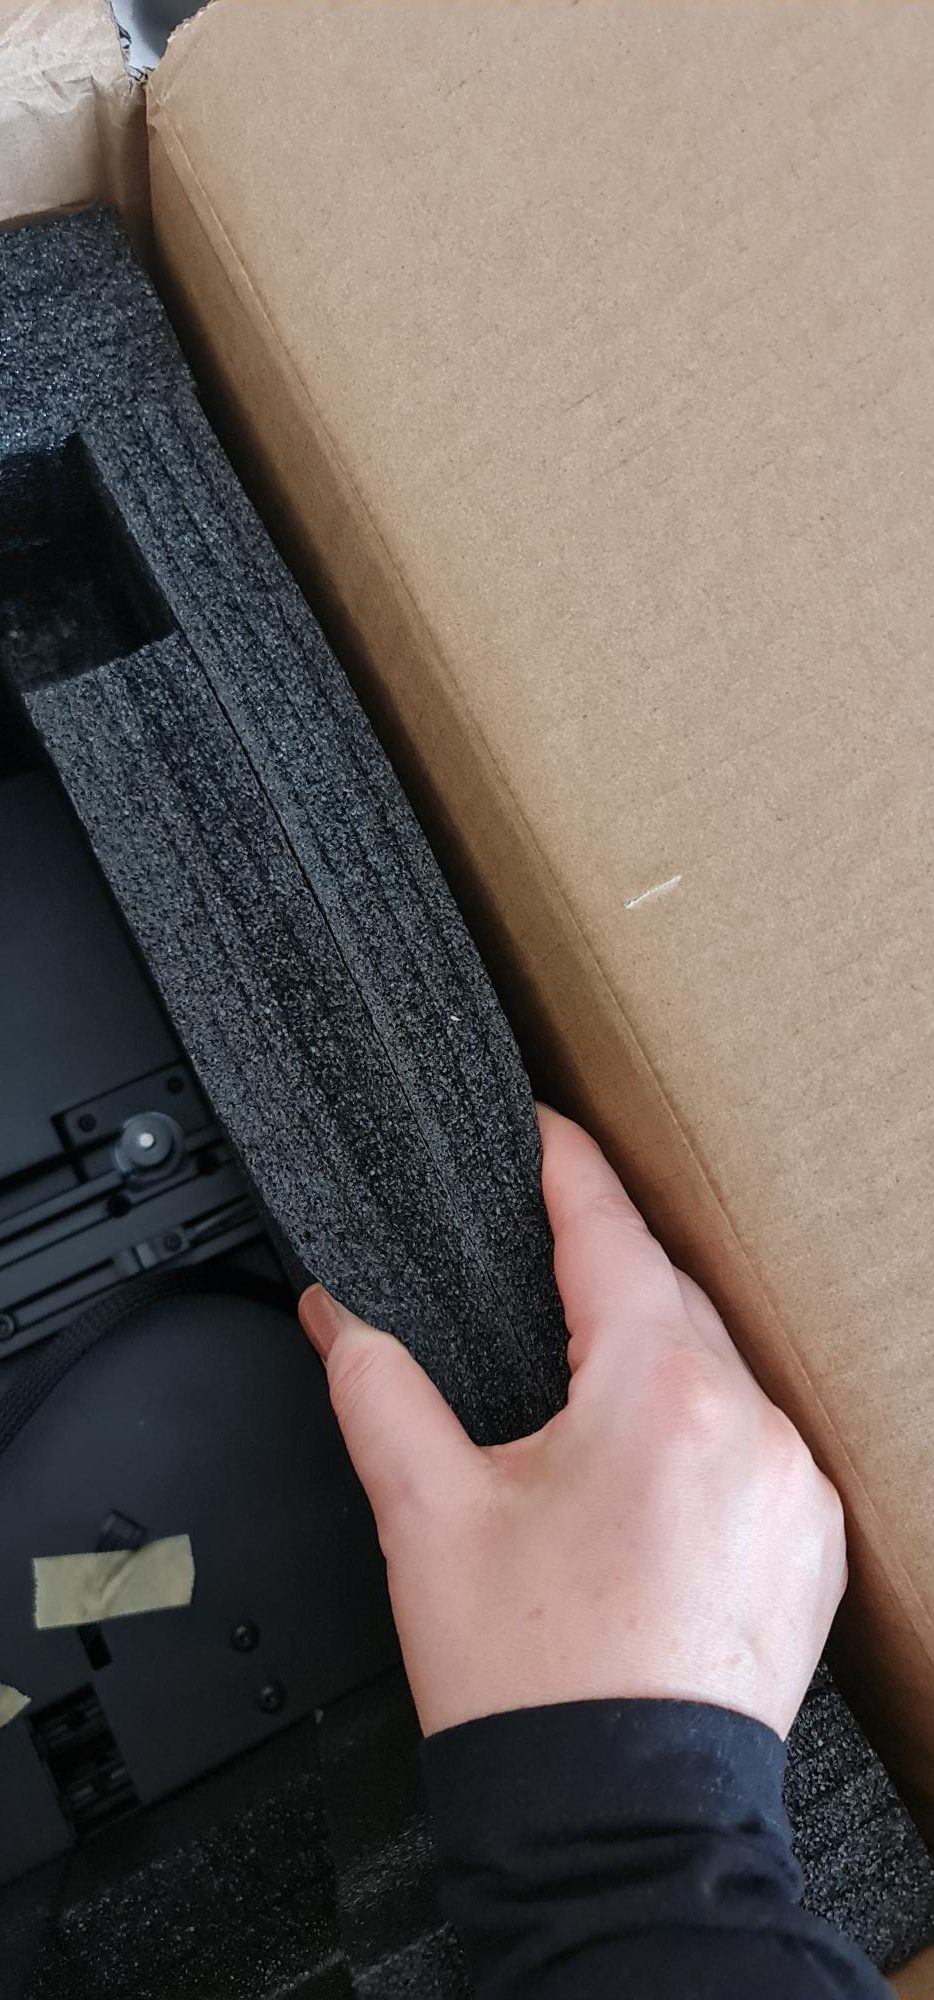
Artillery has maintained its packaging standards with Genius as well. The printer came in a big and well-packed cardboard box. The box was completely full of soft black foam to protect the printer from getting damaged during the shipping. It prevented any movement inside of the box as well. The packaging looked solid, and the printer arrived without even a single scratch.
Contents and Assembly
The printer arrived in a partially assembled condition. The box contained all the necessary parts that you need to complete the assembling process. Here are the contents that were inside of the box.
- Gantry (Z and X-axis)
- Bed with the base (Y-axis)
- Spare parts and associated tools (E.g., Allen keys)
- Manual and Warranty Documents
Even though the instruction in the manual was not that detailed, the assembly process is pretty straightforward. It took about 10 minutes to complete the assembly process. The core assembling process involves putting together the base and the gantry. There are several bolts for you to screw the base with the gantry.
Once the installation of the four bottom screws was completed, the printer looked almost ready to use. You only need to attach a couple of cables at their places to start using the printer. However, do not forget to check the X carriage wheels and the printer’s belt tensions before using them. If necessary, check out the Sidewinder X1 calibration guide of Artillery, which is also relevant for Genius. Also, perform the standard mechanical checks before you print something. All in all, the process was straightforward.
Features and Specs
Direct Drive Extruder
The extruder of the Genius 3D printer is entirely different from the other entry-level printers available in the market. It comes with a direct drive extruder instead of the Bowden extruder that all other entry-level 3D printers use. These days, almost every high-quality printer is switching to the direct drive system as it offers far better results. The direct drive extruder functions exceptionally well with the flexible filaments, which is hard to use in the machines that come with the Bowden setups.
Volcano Hotends
The volcano-styled hotend makes the printing process more reliable and easier. As the volcano-styled hotend is longer than the regular ones, it can heat the filament faster and even more. That results in less more homogenous outputs and less clogging. If the user uses the standard setting, the chances of clogging reduce significantly even if they use the difficult marble filaments. All in all, Genius 3D printer has been printing quite reliably and consistently.
Quiet Stepper Motors
Compared to other 3D printers, Genius is a very quiet device. Artillery’s quiet stepper motor works wonderfully to reduce the disturbing noise all the 3d printers make while working. The fans of the device do make some noise, but that’s not unbearable or disturbing.
Saying that, if you are printing a specific filament that does not require a lot of cooling, the device can work almost noiselessly. If you think that the fans are making too much sound, you can always replace them with the quieter ones. But, before doing that, consider whether the change is worth it.
Bed Leveling
Most of us are frightened about the bed levelling of the 3D printers. But, in the case of Genius, the manual bed levelling brought excellent results. The most exciting factor is that it does not take much time to set it up and generate precise results. You would only miss the auto bed levelling system when you have to change the bed’s nozzle sizes. But the reason is that it would save you a lot of time and not the bed’s accuracy.
Having said that, if you do want to add the ABL to your device, the process is straightforward. First, you need to find the connector pin on the extruder. From there, the process is relatively self-explanatory.
Heated Print Bed
The heated print bed is one of the best features of the Genius 3D printer. Compared to most printers, the Genius’s heated bed is attached to a 12 or 24V wire. In addition, the wire is directly connected with the mains, which allows the device to heat up faster than the other 3D printers of a similar category.
If you are experimenting with your machine, then this heat bed feature will be helpful for you. This feature will save a lot of your waiting period. It also gives you an incredible feeling when you can start the printing within a matter of mere seconds instead of minutes. No doubt, it is only a minor upgrade. But, it helps you concentrate on the printing process itself and not on the printer setup.
The heated bed is made of glass. Therefore, the prints get attached to it quite well. However, you will need to tweak your device’s settings to find the perfect temperature for the filament you use.
Printing Menu and Touch Screen
The device comes with a TFT touch screen. The coloured touch screen is not as user-friendly and smooth as the smartphones, but it works significantly well. There is no doubt that the menu items are pretty clear. You can find the options quite easily. However, there is still some undeniable scope of improvement.
For example, the menu sometimes fails to recognize the USB drives right away. The space for writing the names of the print file is limited as well. That makes it extremely difficult for you to find the file you are trying to find. That being said, you can see the name in full by tapping on the individual files.
Another peculiarity that you may face is that printing the screen does not show how much time the device will take to complete the printing process. While it does showcase a percentage of completion, it depends entirely on the z-height. That means if you are printing a rectangle or cube, the percentage points will take about the same time. However, if the printed item has a pyramid-like shape, then the first 50% of printing will take longer than the last 50%. So, it would have been more efficient and user-friendly if the printing process was tied to the approximate print time.
Saying that these issues are minor, and in general, the menu works efficiently. With the help of firmware updates, you can even adjoin more update options.
Cable Management and Ribbon Cables
Cable management is one factor that takes Genius 3D printers to the next level compared to the other printers of the same price range. The cables that come with the printer are neatly organized. The cables used in the printer are also arranged quite effectively.
It gives the device a cleaner and more polished aesthetics. Not only that, it makes the printer safer. This cable management strategy also notes that the Artillery has paid attention to the details. Some people are concerned that the ribbon cable ends are too sensitive. However, there is a way to reinforce the ends with the help of printable mods. If a ribbon cable does break, you can always use the replacement one, which comes with the printer.
Filment Runout sensor
Another exciting feature of this printer is the filament runout sensor. As the name suggests, this sensor notifies you when it runs out of the filament. It is not something that you need to use often. However, when you receive the sensor notification, you will be happy that it is there.
That being said, if your filament spool gets empty right in the middle of a print, the device will detect that and pause the printing process. After that, you can add a new filament to it and resume the printing again.
You can also pause and resume the printer manually with the help of the menu. But, at the same time, you will have to pay attention to the oozing-out filament from the nozzle. That can make the transition a bit tricky.
Spool Holder
The spool holder of the Genius printer comes in two different parts. Both parts contain bearings on the back and the front. Rather than being hung up from the bar, the Genius printing machine’s spool depends on those bearings. That reduces the friction and helps the spool to rotate smoothly.
Patented Z-axis Couplers
Z banding almost always creates an issue for the printers. In the case of the Genius 3D printer, Artillery has taken measures to improve the accuracy rates. They invented a nut coupler system, especially for the device. According to the manufacturers, the new coupler should resolve the layering issues that Genius’s predecessor has faced. Still, the Z-axis alignment of the device is a bit underwhelming. Compared to the former Artillery printer, it has made a significant improvement. But they are still not the best.
Conclusion
All in all, Artillery Genius is a good printer for entry-level users. It is easy to set up, and you can start the printing process quite quickly. The best thing about it is you can upgrade the device to get the feature you are missing when you gain more experience. Mostly, when the printers are pocket-friendly, they either lack in quality or features. The high-quality products with a lot of features are often far too pricey for entry-level users like us.
The Genius ticks all three of the boxes, which makes it such a great product. So, if you are trying to find a quiet, polished printer that offers good print results even for beginners, then you can take a look at this one.

